Setting up SAML
What is SAML?
SAML (Security Assertion Markup Language) is an enterprise authentication standard that allows your team to sign in to Bookmark Llama using your organisation’s identity provider (IdP). This enables single sign-on (SSO), so users can access Bookmark Llama with the same credentials they use for other work applications.
Benefits of SAML
- Centralised authentication: Manage user access from your identity provider.
- Enhanced security: Enforce your organisation’s security policies, including multi-factor authentication.
- Simplified onboarding: New team members can access Bookmark Llama automatically when added to your IdP.
- Automatic deprovisioning: When users are removed from your IdP, they lose access to Bookmark Llama.
Prerequisites
Before setting up SAML, you need:
- An Admin role in your Bookmark Llama organisation.
- Access to your organisation’s identity provider (e.g., Okta, Azure AD, Google Workspace, OneLogin).
- A Bookmark Llama plan that supports SAML (enterprise feature).
How to set up SAML
- Go to your dashboard at app.bookmarkllama.com.

- Click your profile icon in the top right corner.

- Click Manage to open your organisation settings.
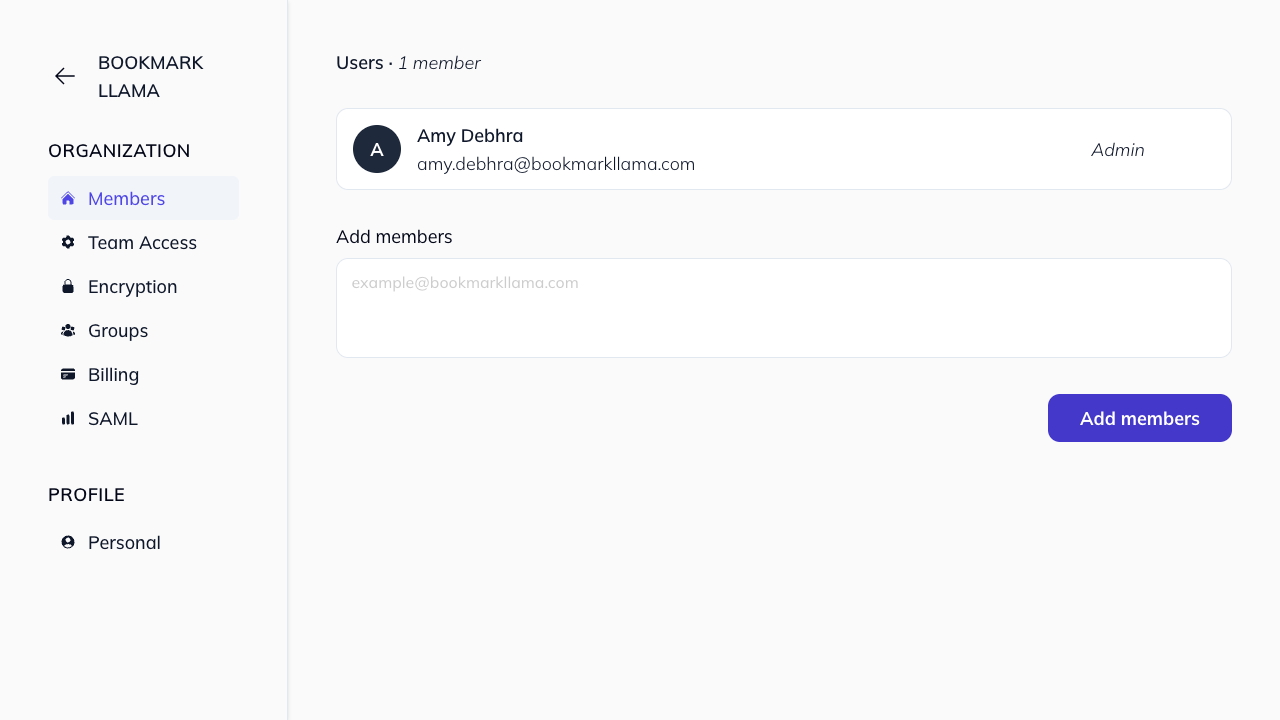
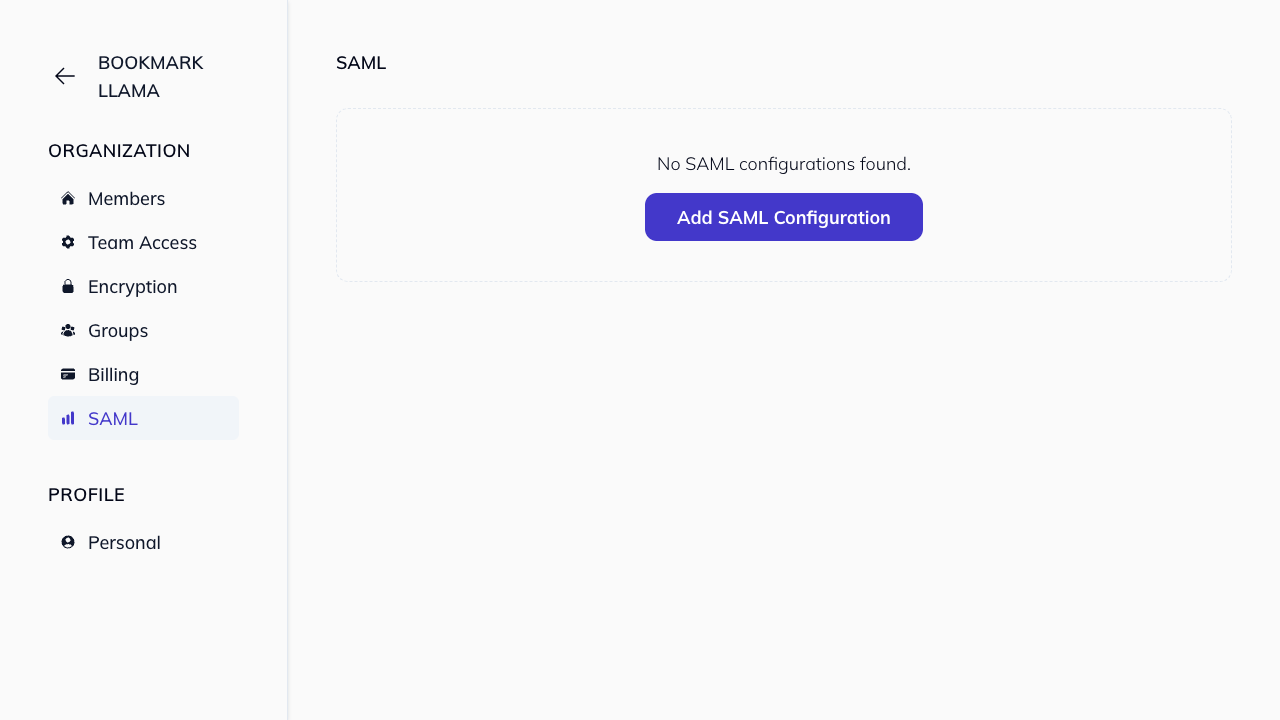
- Click SAML in the left-hand sidebar.

- Click Add SAML configuration.
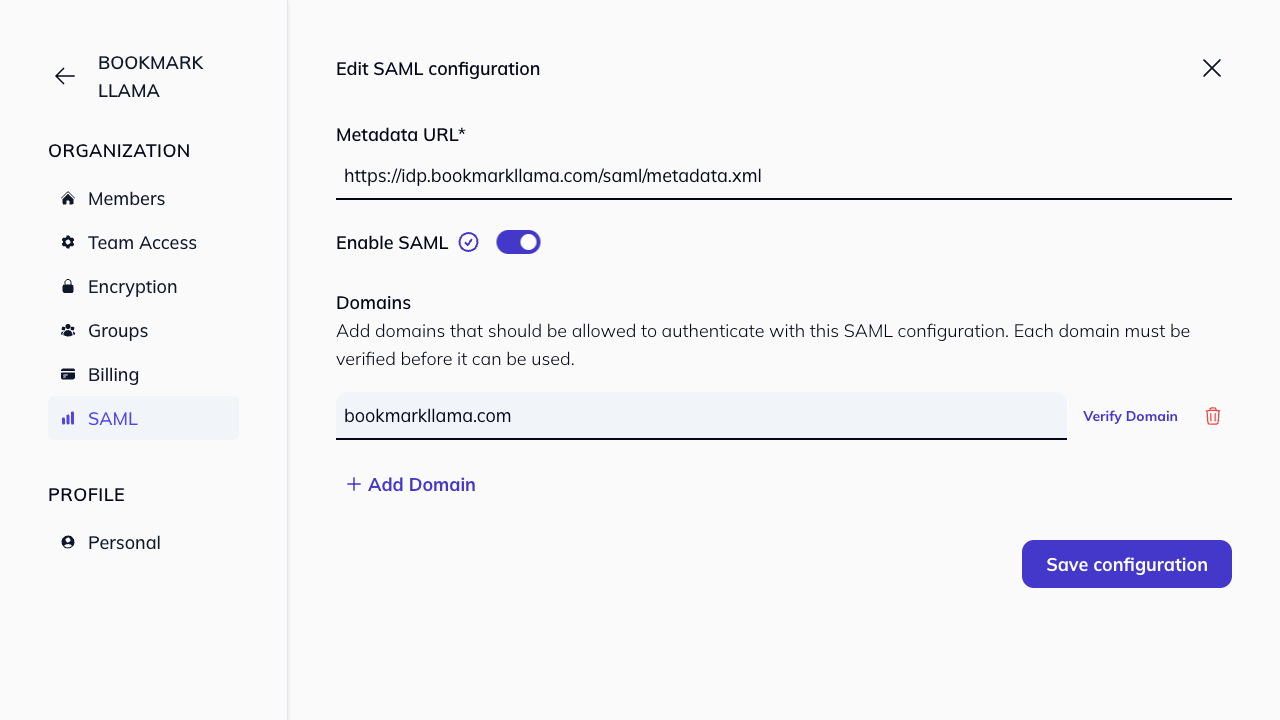
- Populate the Metadata URL with the URL from your SAML Identify Provider, using the recommended settings below.
| Setting | Value |
|---|---|
| Identifier (Entity ID) | bookmarkllama.com |
| Reply URL | https://api.bookmarkllama.com/auth/_saml_callback |
| Signing Option | Sign SAML Response |
| Signing Algorithm | SHA-256 |
- Copy the metadata URL from your identity provider. In Bookmark Llama, paste it into Metadata URL.
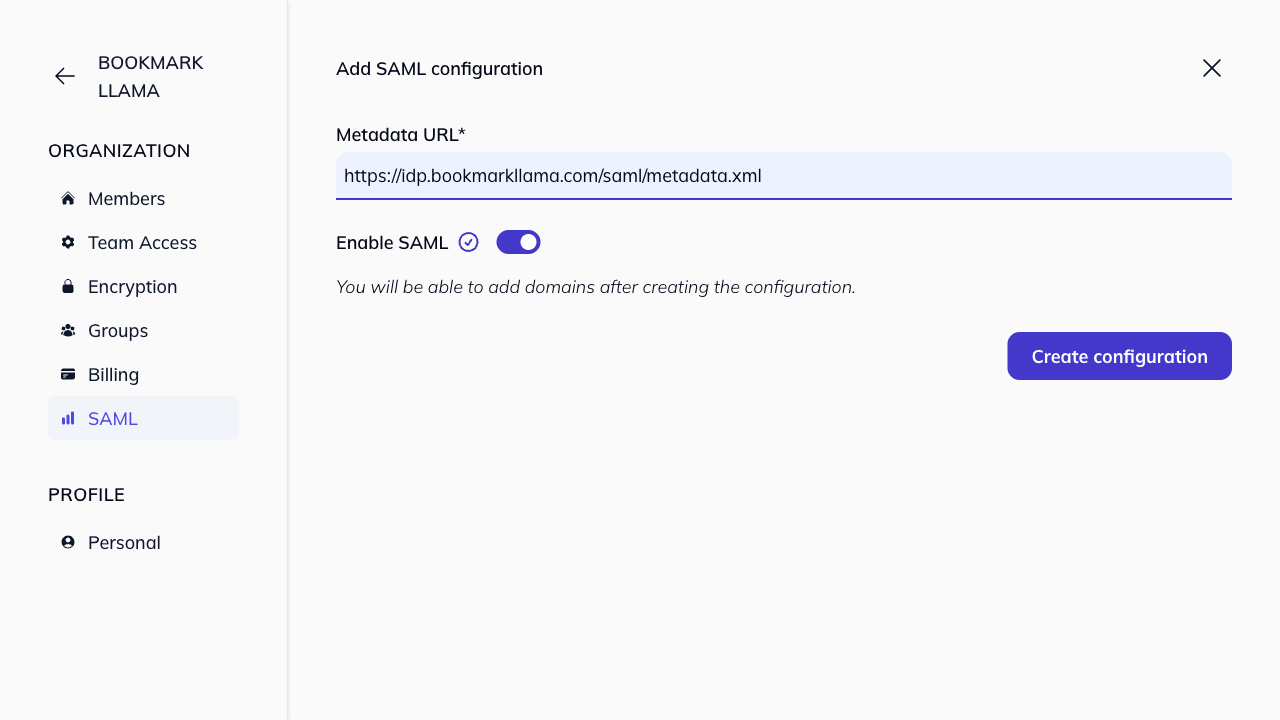
- Click Create configuration to save it and open the configuration details page.
-
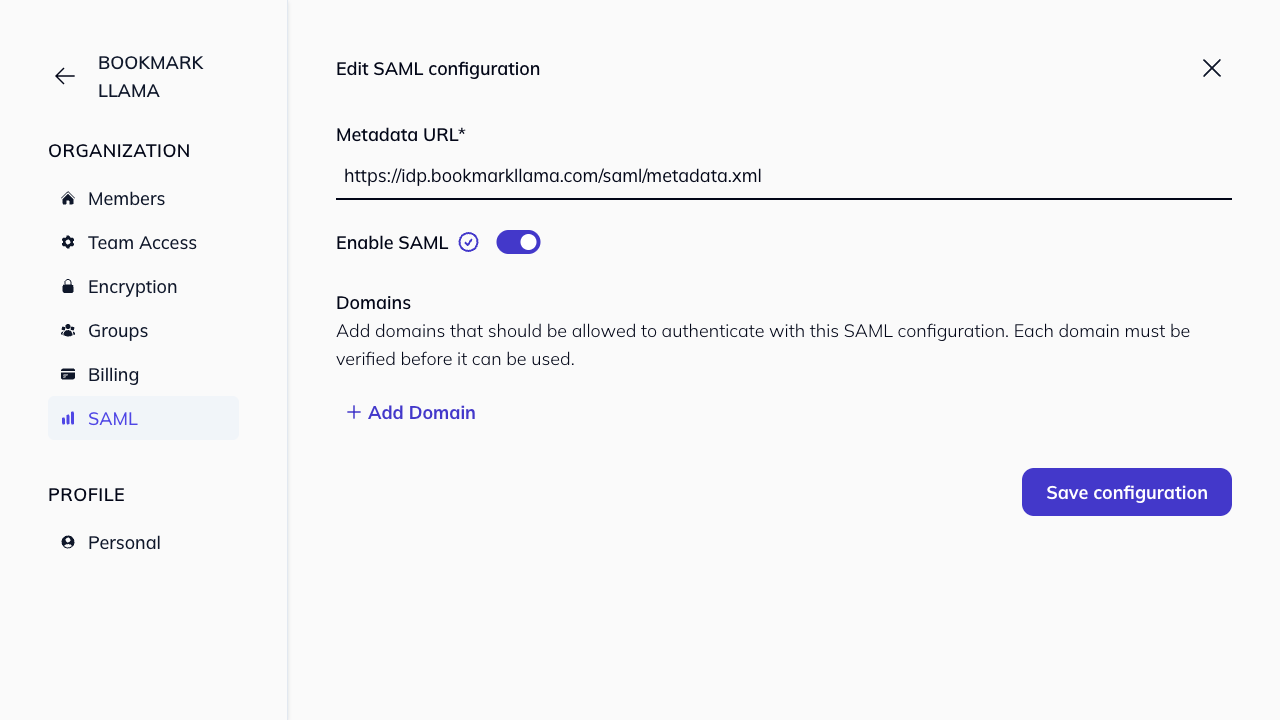
Add your domain to the SAML configuration and verify ownership by creating the required TXT DNS record.
-
In the Domains section, click Add Domain.
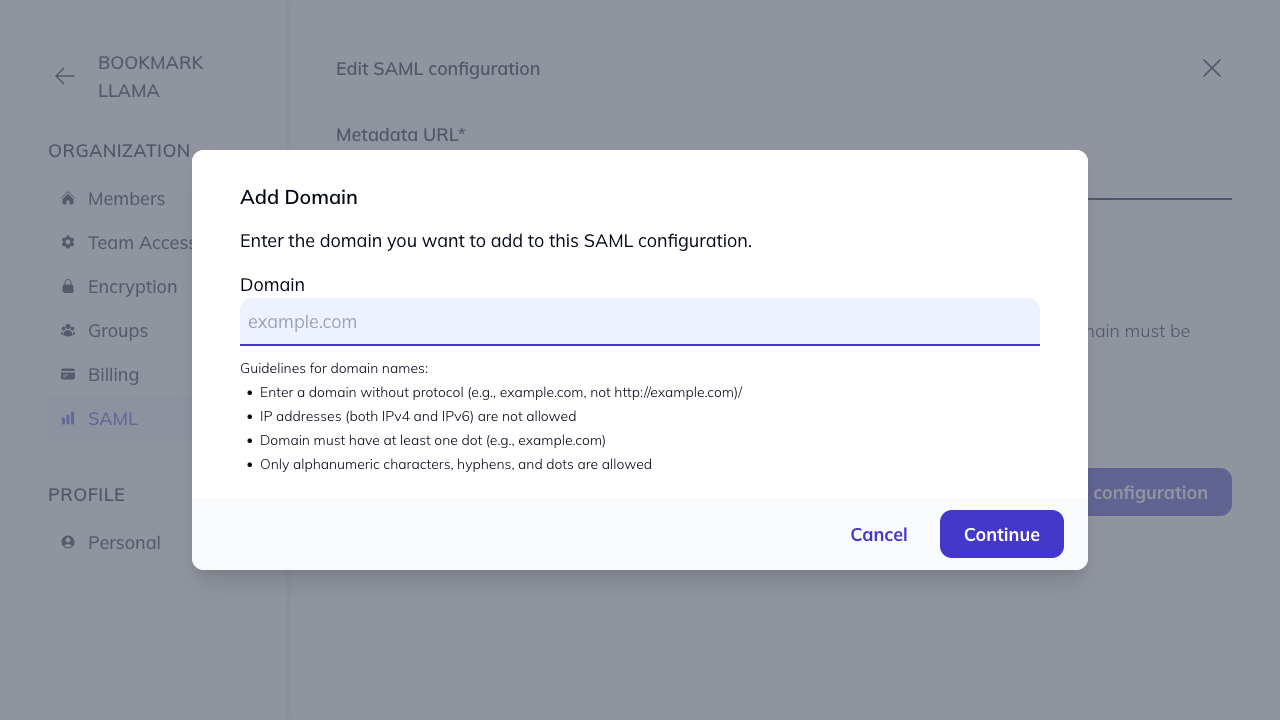
- Enter your domain and click Continue.

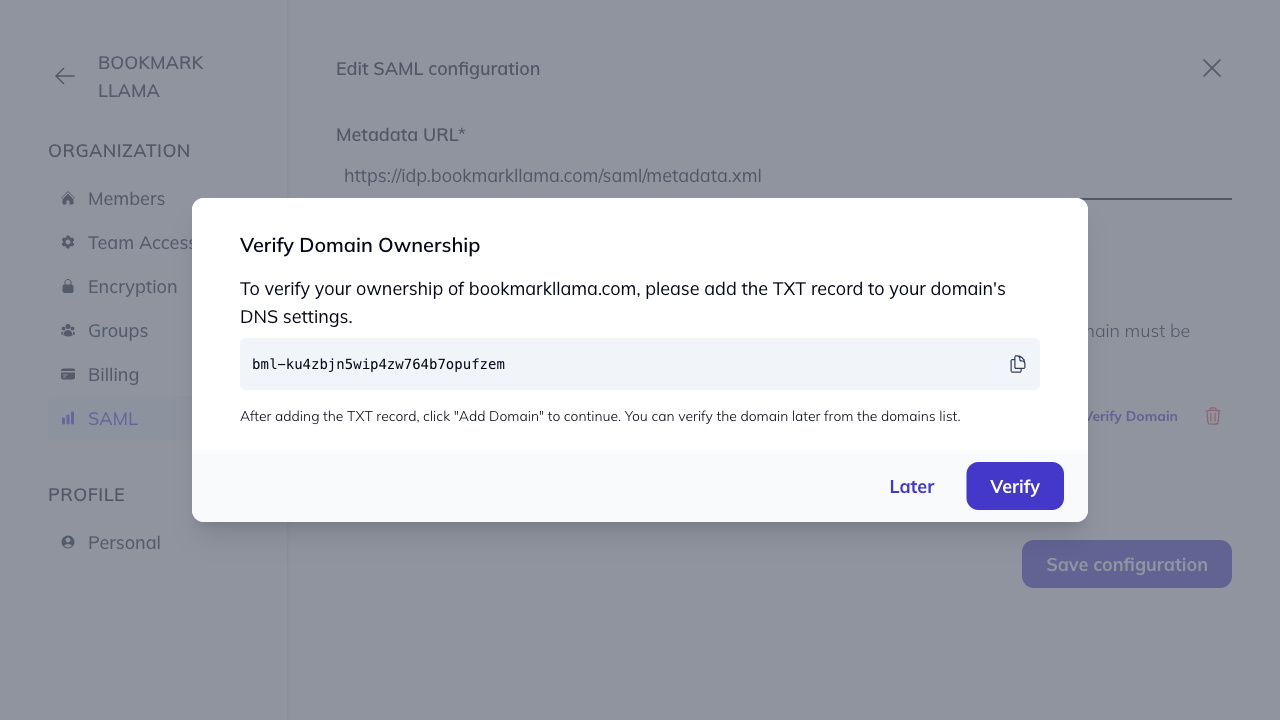
- Add the provided TXT DNS record to your domain’s DNS settings, then click Verify. Allow up to 24–48 hours for DNS propagation.
- After verification, users can log in through the normal login flow. If their email address belongs to a verified domain, they will automatically use the SAML configuration linked to that domain.
Note: Team members can use SSO from both the /login page (Log in with SSO) and the /register page (Sign up with SSO). See Login with SAML.
Who can configure SAML?
Only Admins in your organisation can access and configure SAML settings. See organisation permissions for more details.
For Microsoft Entra ID, see set up SAML with Azure.